How to Clean a Radiator
Over the years, radiator technology has significantly improved. Radiators are now more effective and less likely to break than ever before. However, this doesn’t mean that radiators don’t need a little maintenance now and then. One of the most important things to keep in mind for your home radiators is keeping them clean.
Why We Must Keep Our Radiators Clean
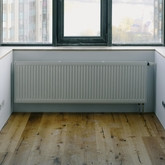
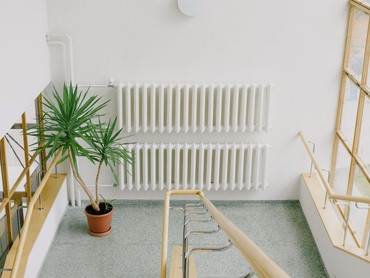
Radiators are often located in a focal point within the rooms of your home, so much so that designer radiators have entered the market to make more of a statement than simple white radiators. Therefore, dirty radiators are noticable not only just to you, but also any guests. One common place for radiators to be installed is underneath a window, whereby a dirty radiator is highly noticeable. Radiators also have a number of crevices and grates where dust can accumulate.
This guide helps you to keep your radiators clean and improve the overall aesthetic of rooms in your home.
Why Do Our Radiators Accumulate Dust?
The dust that accumulates on your radiator and across other areas of the rooms in your house has its origin in the atmosphere around us. As dust is extremely fine and light, any disturbance can cause it to rise and float around your home before coming to settle on surfaces. Dust is bought inside on any items entering the house, so it can be difficult to completely remove dust from the home.
Tools You’ll Need for a Spanking Clean Radiator
As a radiator ages, the process of corrosion begins to break down the metal and paint, resulting in the build-up that can hinder airflow. If you suspect your radiator is due for a cleaning, here’s how to handle it yourself.
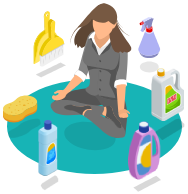
You’ll need the following to clean your radiators:
- Spanky Cleaning and Dusting Tool
- Vacuum cleaner
- Microfibre cloth
- Hard surface cleaner such as Zoflora
How to Clean Your Radiator
Now that you’ve gathered the supplies and tools, it’s time to get to work cleaning and polishing your radiator! Following these simple steps will enable you to clean your radiator in half the time it usually takes, and it will look better than ever.
Step 1: Switch Off Your Central Heating
Turn off you heating (the instructions on how to carry this out will be found in your boiler instruction manual, although we're certain you know already!) Once off allow the radiators to cool to prevent any risk of burns.
Step 2: Vacuum Your Radiator
Vacuum dust from your radiator. Use the brush attachment and vacuum the front, sides and top. You may notice that the top of the radiator a grill is present. This is a prime location for dust. Again, agitate with the brush attachment and vacuum to remove the majority of visible dust.
Step 3: Clean Behind the Radiator
This is the area that most people miss from their cleaning routine. Ultimately, this also means it's often the dirtiest area of a radiator. Although this looks tricky at first, we've got the solution to make this task as easy as possible. Using a Spanky Cleaning and Dusting Tool with a Microfibre Sleeve, run the Spanky behind the radiator and move horizontally to remove dust. Repeat this for each end of the radiator and also in the centre (between the brackets holding the radiator in place).
Agitated dust may have fallen onto the floor below the radiator and will require vacuuming.
Step 4: Wipe Down the Radiator
Spray some cleaner onto your microfibre cloth to dampen and wipe down the radiator in full. If soiling persists on your radiator, spray additional cleaner onto the cloth and wipe again.
Stay Connected
Want to hear more from The Cleaning Collective? Sign up to our mailing list for the latest offers and news

Some Extra Helpful Radiator Cleaning Tips
- If food, drink or anything else is spilt on your radiators, use kitchen roll to absorb liquids and clean the radiator straight away. Use a hard surface cleaner to dampen a cloth and wipe.
- Always turn off your heating and allow your radiators to cool before cleaning.
- Do not use scourers or hard bristled brushes on your radiators. This may cause scratches on the radiator's finish and ruin the aesthetic on your home.
Stay Connected
Stay connected and be the first to know about our latest products, special offers, and exciting news:The Cleaning Blog
Want to learn more about cleaning? From the latest cleaning and hygiene news to handy how-to guides, why not check out our most popular blog categories.Stay Connected
Stay connected and be the first to know about our latest products, special offers, and exciting news:


